Using the LiveWedge Dashboard you can adjust video parameters such as bitrate and framerate, start and stop live streaming and control them remotely.
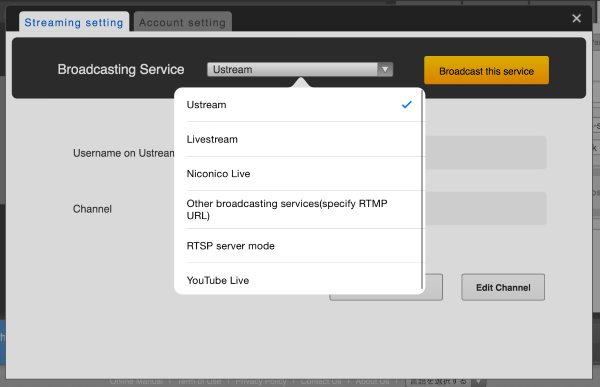
LiveWedge is compatible with the following live streaming services and servers –
| Live Streaming Service | LiveWedge |
|---|---|
| YouTube Live | ✓ |
| Ustream | ✓ |
| niconico | ✓ |
| Other RTMP server | ✓ |
| RTSP server | ✓ |
How to access the Dashboard
Start the LiveWedge app and tap [LIVE]. You will see the password registration screen.

Enter at least 6 characters as your password and tap [OK] to finish registration.
Dashboard Display Guide

The picture above is an example of live streaming via Ustream. Information on the unit, title of the streaming service and other information is displayed.
- Streaming summary, unit setup information
- Visual Quality Information
- Start and Stop Streaming, Pause, Start and Stop Recording
- Main Operation
- Settings
- Reload, End Live, Logout
- Language Selector
Streaming summary, unit setup information
The active streaming details and unit setup information are displayed here.
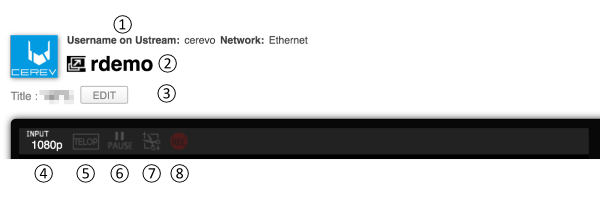
- Streaming service and user ID
- Streaming title
- Streaming outline text
- Input video resolution
- Displays telop
- Streaming pause
- Manual aspect and crop function on
- Recording active
Visual Quality Information
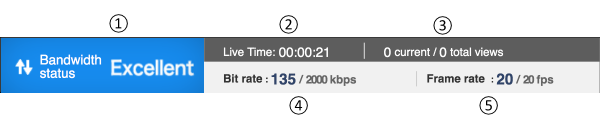
- Connection Quality : Displays connected internet quality and condition listed below
- Excellent : Excellent
- Good : Good
- Warning : Adjustment needed
- Emergency : Urgent review needed
- Dead : Review initial settings
- ・・・ : Offline or no response
- Time since streaming started
- Total number of views
- Video and audio bitrate
- Video frame rate
Start and Stop Streaming, Pause, Start and Stop Recording
These buttons control the streaming and Ustream recording functions.
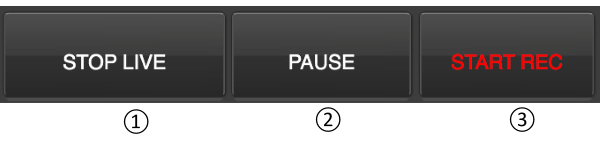
- Start and stop streaming
- Pause streaming
- Start and stop Ustream recording
Main Operation
This area allows you to control various stream functions and operate the telop feature.
BASIC
The basic tab shows the recommended setting for streaming based on your current network connection.
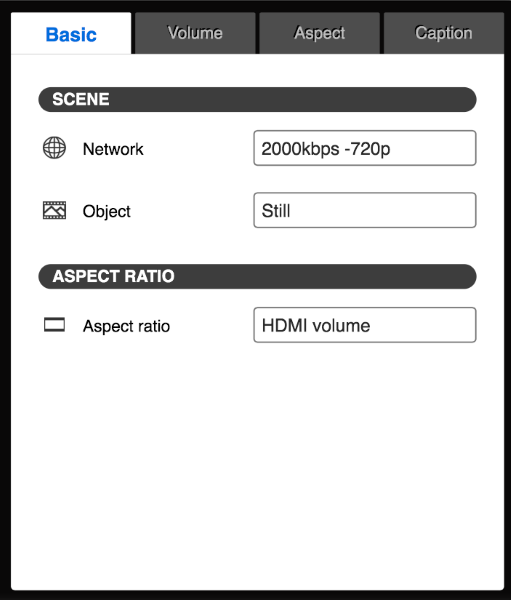
- Network Class – The current preset will be displayed and selected based on the speed of the current network connection. If “Custom” setup is used you will not be able to use a preset until you disable custom mode.
- Visual mode
- Aspect Adjust – Current video aspect ratio is shown. Check the aspect tab below for details on the options available.
VOLUME
Stream volume level can be adjusted here.
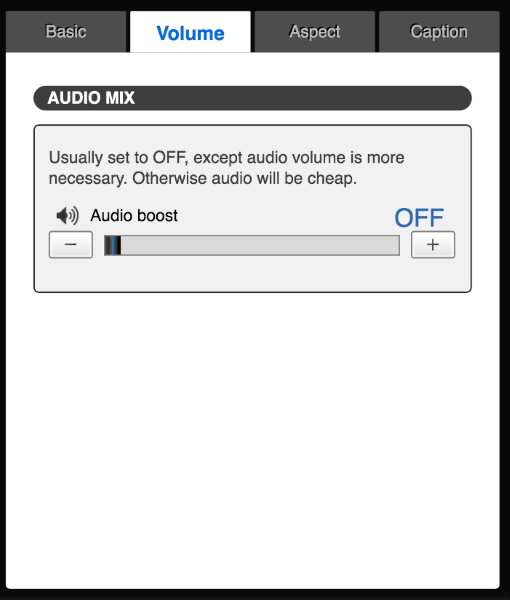
- Volume Boost – Use this option if you need an extra boost to volume levels. However this feature is not recommended to be used all the time due to the possibility of lower quality audio when enabled.
ASPECT
Adjust the display aspect ratio. The following options are available – [Auto], [4:3], [16:9], [4:3 side cut], [16:9 letter box] and [manual aspect:crop].

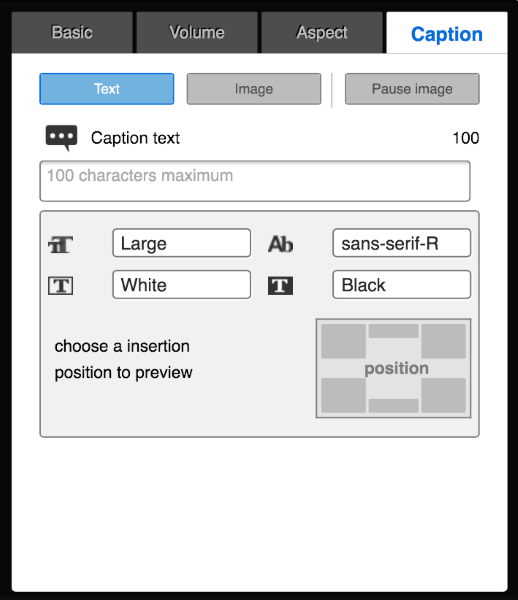
CAPTION
In the caption tab you can control the settings for overlaying text or images onto the video stream.
SETTING
This area allows you to control streaming service and user information settings.
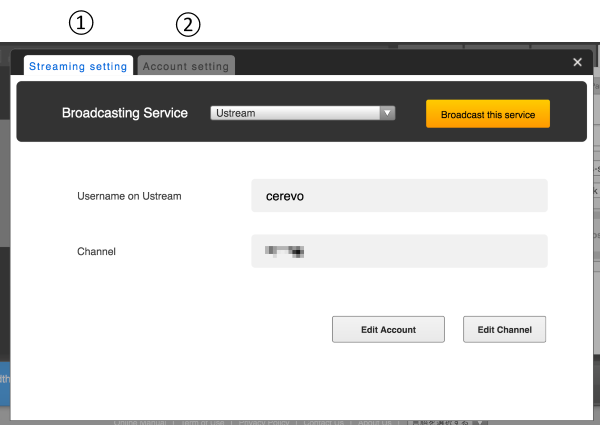
- Streaming service settings.
- User information settings.
Streaming Service Settings
Allows you to switch between streaming services and streaming servers.
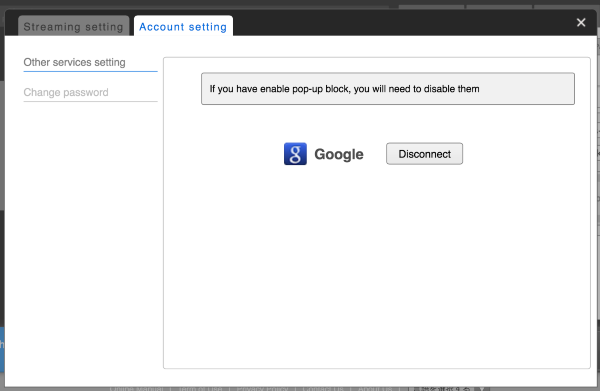
Account Setting
Allows you to connect or disconnect your Google account.
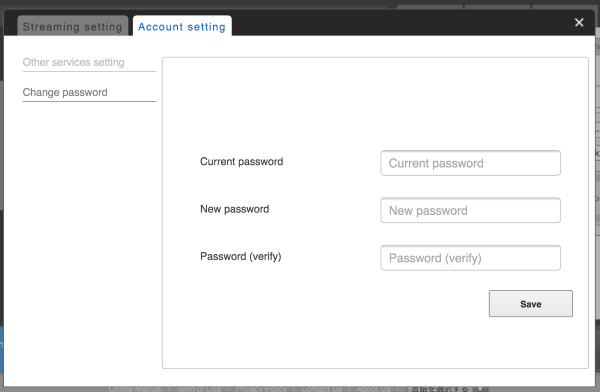
Change Password
Allows you to change your registered Cerevo account password.
Setup Custom Operation
The basic tab is preset to the recommended setting based on network connection speed.
You can also adjust each setting manually using the [CUSTOM] button. The available manual settings are –
- Audio Boost
- Adjust Audio Delay
- Sampling Rate
- Channels
- (Sound)Bit Rate
- Aspect Ratio
- Control Rate
- Average Bit Rate
- Frame Rate
- Inserting i Frame Pitch
- Length of Broadcasting Queue
- Minimum Compression Ratio
- (H.264) Profile
- Vertical Resolution
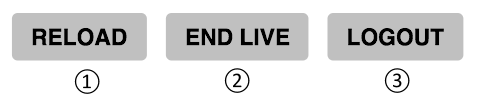
Reload, End Live, Logout
Language Selector
Change the display language on the Dashboard.
![]()
Language setup : Japanese or English